 H
Here are ten hints for taking great digital photos:
- Take the time to learn what your camera can do. Go through the manual and understand its various features.
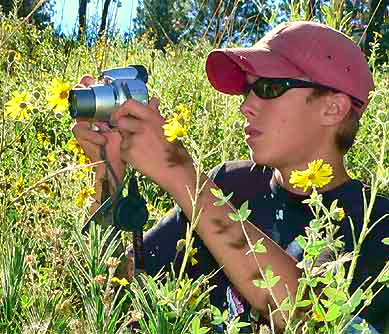
- Most serious birders and those interested in other special groups of living things take pictures to help them identify what they are seeing. Maybe photograph a plant's leaves and stems as well as its flowers, for example, and shoot a flower from the side as well as head-on.
- The more expensive your camera, usually the better your "automatic" setting works. However, for the consistently best pictures, you need to know the basics about depth of field, shutter speeds, F-numbers, ISO numbers, and more. These are discussed lower down this page.
- Keep your lens clean but never wipe it with something that might have scratchy dust or even sand particles on it.
- In high contrast situations, as at the beach in bright sunlight, use HDR mode -- high-dynamic-range imaging -- if you have it. It keeps the sky from being too bright and shadows from being too dark.
- "Digital zoom" just enlarges what may already be a blurry image; it doesn't make the picture sharper.
- For the sharpest pictures, use a tripod or rest the camera or phone on or against a solid surface.
- Get close to show details, but remember that the closer you are, the more shallow your depth of field, the smaller your lens opening needs to be, etc.
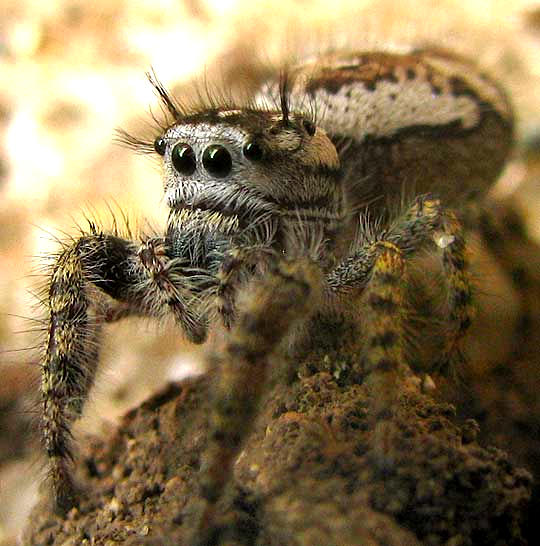
- Consider buying cameras/phones with "macro" capability. Photograph the insides of flowers, insect wing venation and headparts, and shots like that at the right.
- Finally, if your camera doesn't offer ways to improve the image after the image is taken, use the best photo-finishing apps or programs you can find. There's more on this, below.
FOR NATURE SHOTS YOU NEED MACRO CAPABILITY
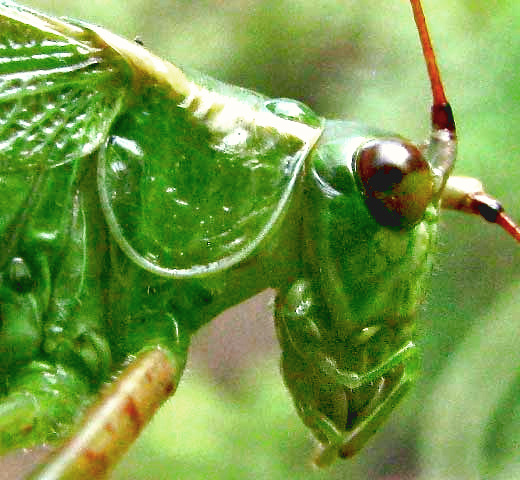
Especially in the local neighborhood where there may be more weeds, garden plants and insects than gallivanting deer, waterfalls and picturesque volcanic peaks, maybe 90% of the most interesting shots are those taken very close up, like that of the Fork-tailed Bush Katydid head shown at the left.
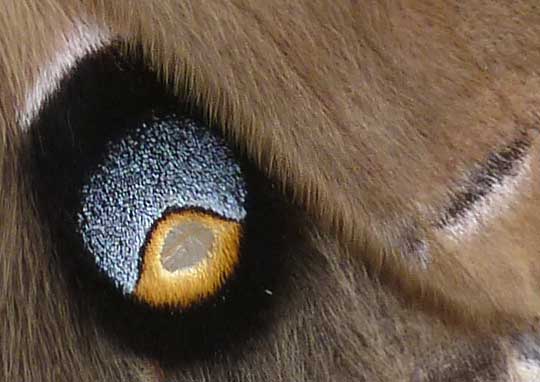
Certain cameras and phones come with built-in macro capability, and you should consider buying those. Otherwise, if you want to photograph an eye-spot on a Polyphemus Moth attracted to the backyard night-light, such as that appearing below, think about getting a macro lens adapter for your camera.
When shooting macro pictures, you need to know about depth of field. For example, in the picture 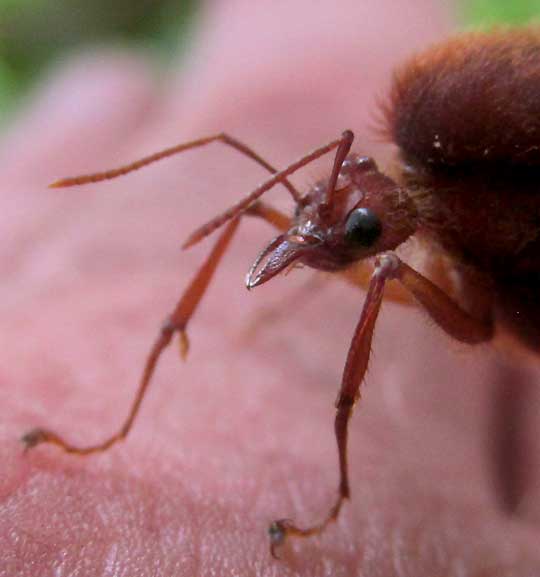 at the left, the face is in sharp focus, but everything else is blurred, especially the background. In taking the picture, the depth of field had to be centered on the face. A camera's "automatic focus" might do the work for you, especially if you have the camera configured so that it focuses using the center-weighted option. Else, the camera may "average out" distances sampled over the whole field, and focus on the background. Another way to deal with the depth of field problem is to take side views where you don't need much depth of field.
Here are some technical considerations for using your camera:
In other words, unless you're a real stickler for perfect photos, with today's technology and if you have an upper-end camera, often it's best just to keep your camera or smartphone on "automatic."
 or phone.
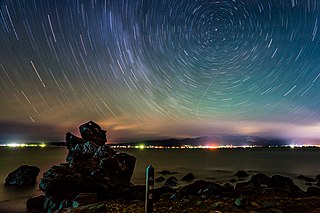 Starry sky time exposure; photo courtesy of Yoshiyuki Ito in Japan and Wikimedia Commons"